BIOS
Introduction
The BIOS is a program located in the Flash Memory on the motherboard. This program is a bridge between motherboard and operating system. When you start the computer, the BIOS program gains control. The BIOS first exectues an auto-diagnostic test called POST (Power on Self Test) for all the necessary hardware, it detects the entire hardware devices and configures the parameters of the hardware synchronization. After these tasks are completed, BIOS will give control of the computer back to operating system (OS). Since the BIOS is the only channel for hardware and software to communicate with, it is the key factor of system stability and of ensuring your system performance at best. In the BIOS Setup main menu, you can see several options. We will explain these options in the following pages. First, let us see the function keys you may use here: Press <Esc> to quit the BIOS Setup. Press ↑↓←→(up, down, left, right) to choose the option you want to confirm or modify. Press <F10> to save these parameters and to exit the BIOS Setup menu after you complete the setup of BIOS parameters. Press Page Up/Page Down or +/- keys to modify the BIOS parameters for the active option.
Enter BIOS
Power on the computer and press <Del> key immediately to enter Setup. If the message disappears before your respond but you still wish to enter Setup, restart the system by turning it OFF then ON. You may also restart the system by simultaneously pressing <Ctrl>, <Alt> and <Delete> keys.
BIOS menu and function keys
In the above BIOS Setup main menu of, you can see several options. We will explain these options step by step in the following pages of this chapter, but let us fi rst see a short description of the function keys you may use here:
Press ←→ (left, right) to select screen;
Press ↑↓ (up, down) to choose, in the main menu, the option you want to confirm or to modify.
Press <Enter> to select.
Press <+>/<–> keys when you want to modify the BIOS parameters for the active option.
[F1]: General help.
[F2]: Previous value.
[F3]: Optimized defaults.
[F4]: Save & Reset.
Press <Esc> to quit the BIOS Setup.
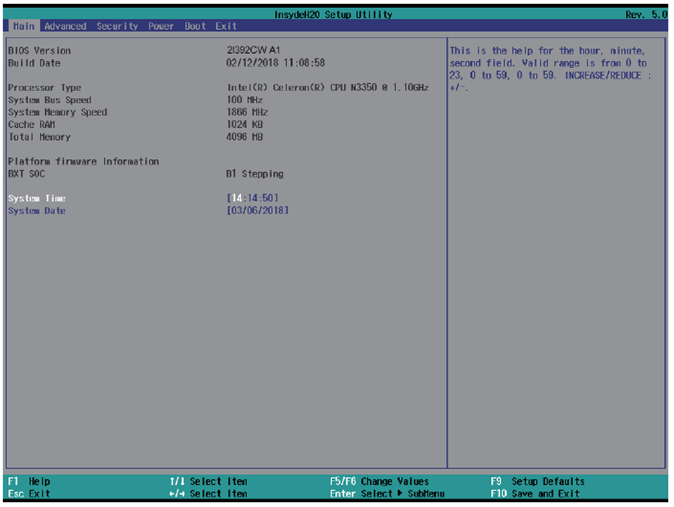
There are six menu bars on top of BIOS screen: Main To change system basic configuration Advanced To change system advanced configuration Security BIOS Password settings Power ACPI and wake device settings Boot To change system boot configuration Exit Save setting, loading and exit options. The selected one is highlighted.
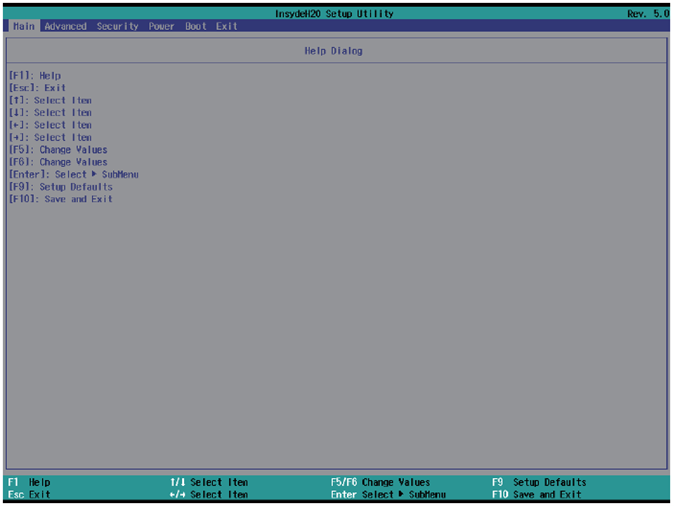
BIOS Help
Status Page Setup Menu/ Option Page Setup Menu
Press F1 to pop up a help window that describes the appropriate keys to use and the possible selections for the highlighted item. To exit the Help Window, press <Esc>.
Menu

Main menu screen includes some basic system information. Highlight the item and then use the <+> or <-> and numerical keyboard keys to select the value you want in each item. System Date Set the Date. Please use [Tab] to switch between data elements. System Time Set the Time. Please use [Tab] to switch between data elements.
Advanced
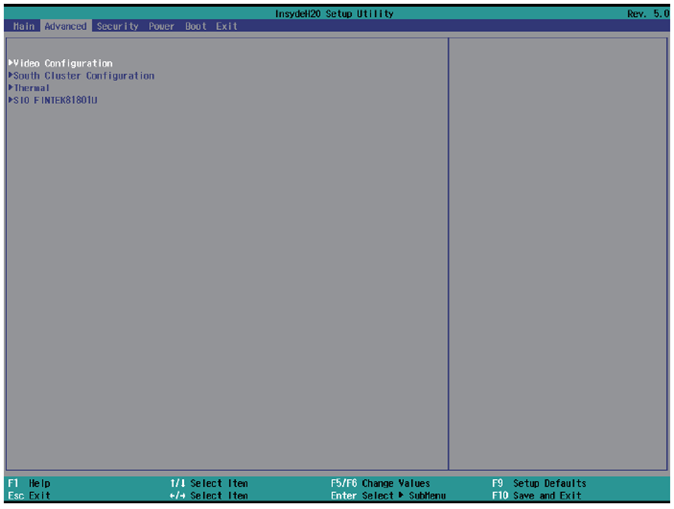
Video Configuration
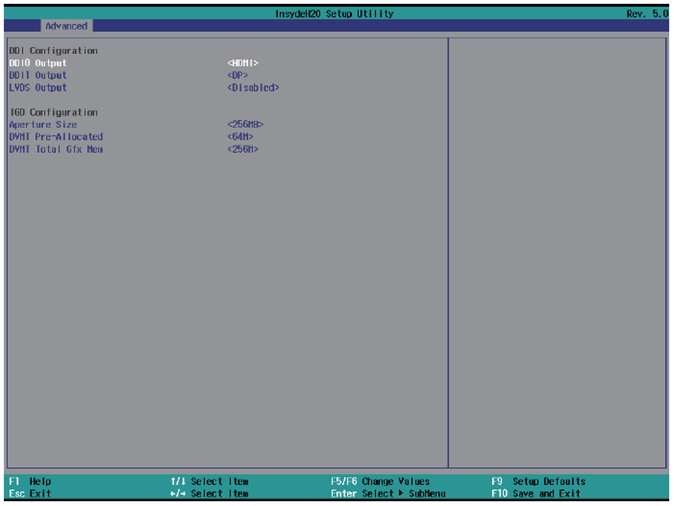
Aperture Size
The optional settings are: 128MB, 256MB (default), 512MB.
IGD - DVMT Pre-Allocated
Use this item to select DVMT 5.0 pre-allocated (fixed) graphics memory size used by the internal graphics device. The optional settings are: 6 4 (default) / 128 / 256 / 512MB
IGD - DVMT Total Gfx Mem
Use this item to select DVMT 5.0 total graphics memory size used by the internal graphics device The optional settings are:128M, 256M (default), MAX
HD-Audio Configuration
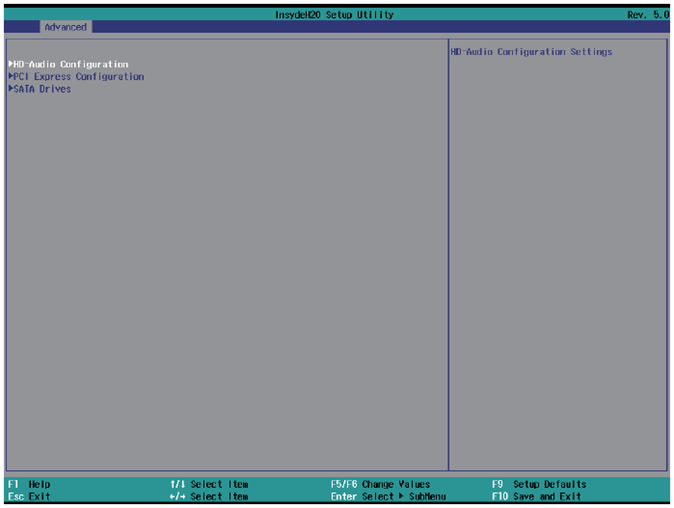
HD-Audio Support. The optional settings are: Enabled (default), Disabled.
PCI Express Configuration
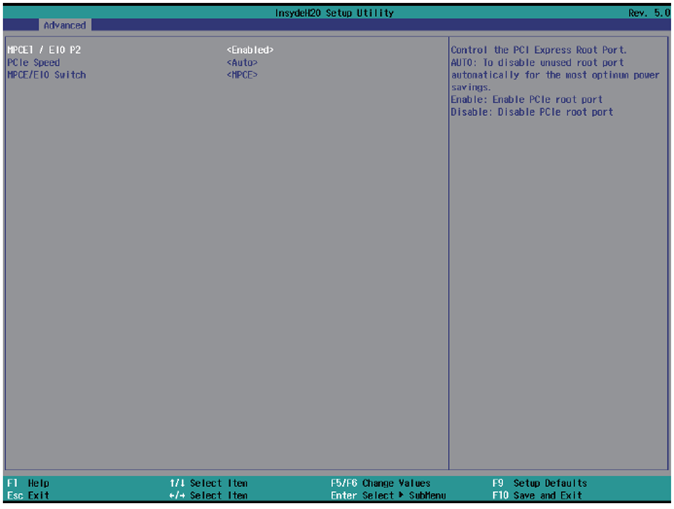
MPCE1 / EIO P2
The optional settings are: Disabled, Enabled (default) for MPCE1.
PCIe speed
This item that setting PCIe speed: Auto (default), Gen1, Gen2
MPCE / EIO Switch
This item to switch the PCIe signal to MPCE1 (default) or EIO (internal expansion port for OEM I/O or function boards)
SATA Drives Configuration
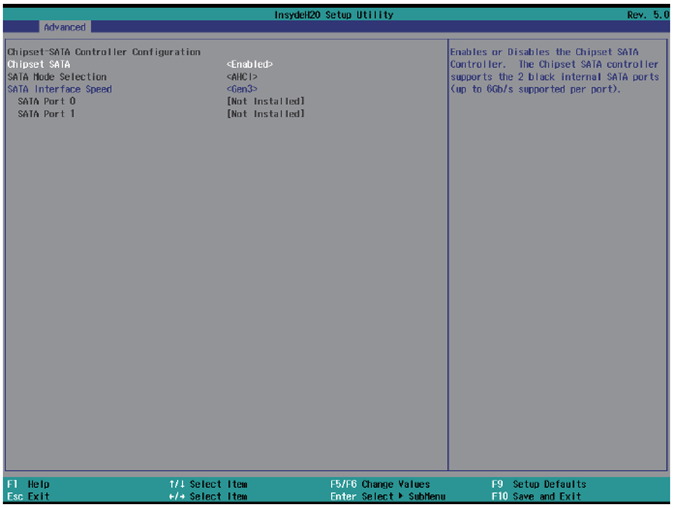
Chipset SATA
Use this item to Enable or Disable SATA function. The optional settings are: Enabled (default) or Disabled
SATA Mode Select
This Item is just for Info, the Arrakis MK3 will always work in ACHI mode.
SATA Interface Speed
This item will determine the SATA speed. The optional settings are: Gen1, Gen2, Gen3 (default)
Thermal
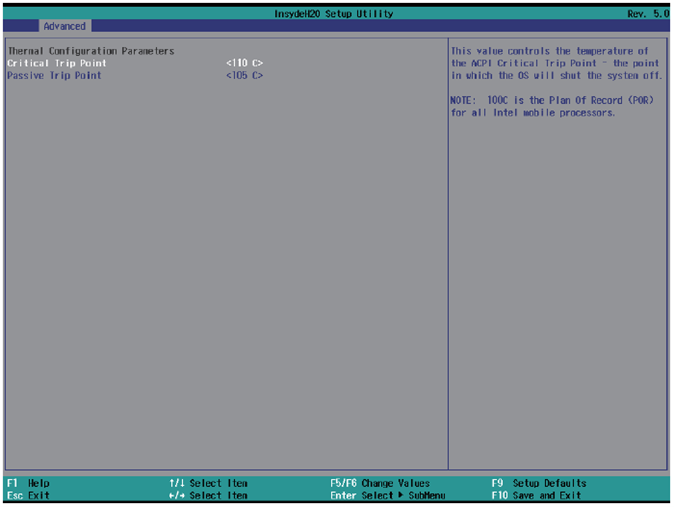
Thermal Configuration Parameters
This Value controls the temperature of the ACPI Critical Trip Point, the point in which the OS will shutdown the system.
Critical Trip point is the shutdown temperature, the default value is 110°
The CPU frequency will auto reduce when CPU temperature arrived at the passive Trip point.
The default of the passive trip point is 105°
SIO FINETEK 81801U
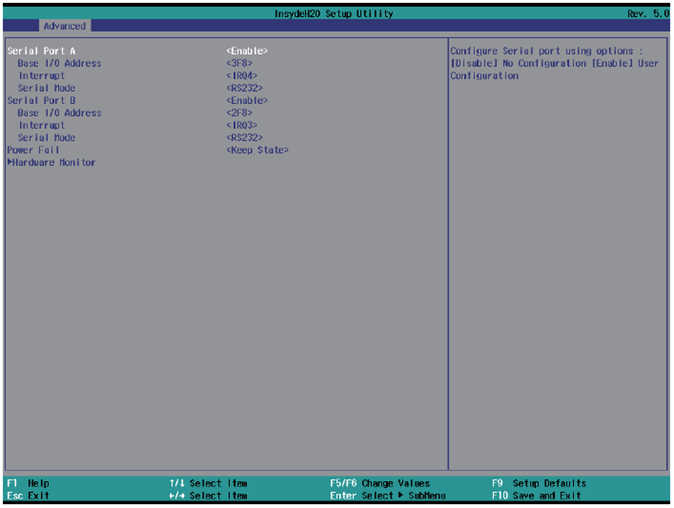
Serial Port A/B
Use this item to enable or disable serial port (COM1 or COM2). Enabled is the default.
Serial Port A/B Base IO Address / Interrupt
Use this item to select an optimal setting for super IO device.
These optional settings are:
IO=3F8h; IRQ=3,4
IO=3E8h; IRQ=3,4
IO=2E8h; IRQ=3,4
IO=2F8h; IRQ=3,4
The port A default value as IO=3F8h; IRQ=4
The port B default value as IO=2F8h; IRQ=3
Serial Mode
RS232 driver (default): When hardware is set to RS232/RS422 mode, please enter to RS232 driver.
RS485 driver: When hardware set to RS485 mode, please enter to RS485 driver. It enables the auto flow function for RS485.
Power Failure
This item specifies whether your system will reboot after a power failure or interrupt occurs.
[Keep state] Restores the system to the status before power failure or interrupt occurred. (default)
[Always on] Leaves the computer in the power on state.
[Always off] Leaves the computer in the power off state.
Hardware Monitor
These are system voltage and temperature message.
The voltage shows the 3 type: VCC3, VCORE, VNN
The Temperature is measured via separate sensor, not by the CPU.
Security
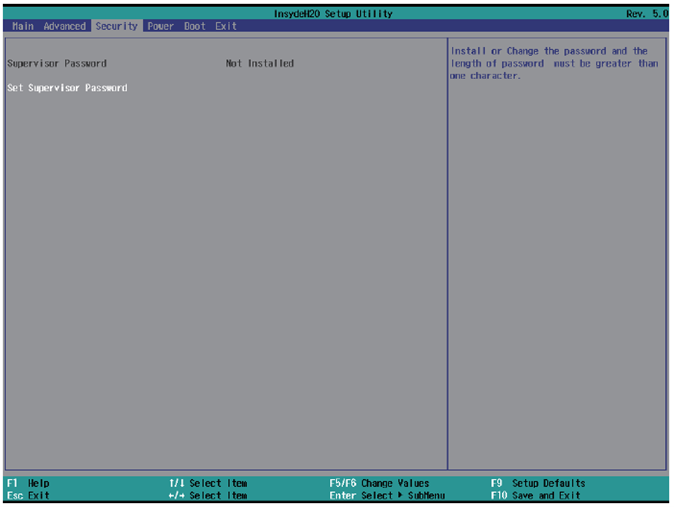
Supervisor Password To set up a Supervisor password
Select Supervisor Password. The screen then pops up an Create New Password dialog.
Enter your desired password that is no less than 3 characters and no more than 10 characters.
Hit [Enter] key to submit.
Power
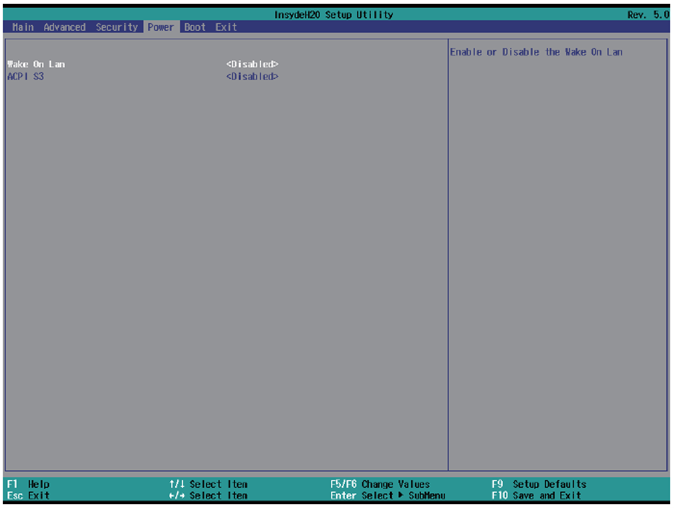
Wake on LAN
Wake On LAN from LAN1 when system in S3 or S5 state or both.
The optional settings: S3, S5, S3 / S5, Disabled (default)
ACPI S3
Select ACPI sleep state (S3) support.
The optional settings: Enabled or Disabled (default)
Boot

Boot type
The Arrakis MK3 is a UEFI Boot only system
Quiet Boot
The optional settings are: Enabled (default), Disabled.
Network Stack
If use PXE function need enable otherwise disable (default)
PXE Boot capability
The item determines what protocol operation in PXE, these values are: Disabled (default), UEFI: IPv4,
UEFI: IPv6
This is not modifying item. When above item settings disable.
EFI
Determine which EFI storage device the Arrakis will boot from. This item will only show up if EFI is present on the storage media.
Exit
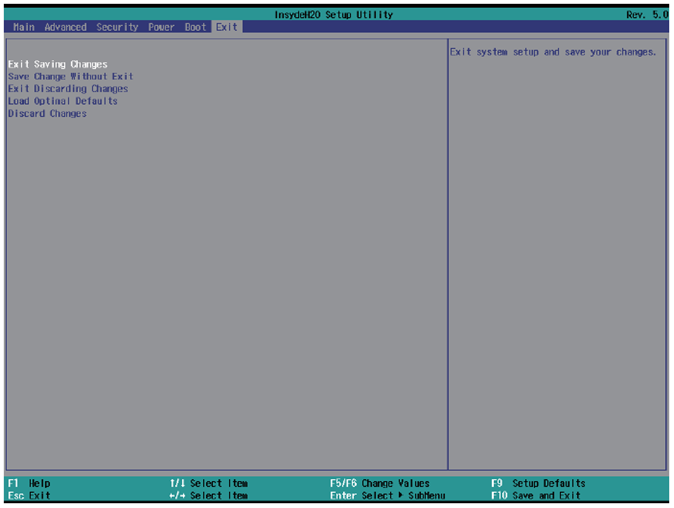
Exit Saving Changes
This item allows user to reset the system after saving the changes.
Save Change Without Exit
This item allows user to saving the changes but doesn’t restart.
Exit Discard Changes
This item allows user restart the system but no saving the changes
Load Optimal Default
Use this item to restore the optimal default for all the setup options.
Discard Changes
Use this item to cancel all the setup options.